Simple. Easy. Lovely…DIY Kitchen Stand from Pallets.

I’m so happy to share…my first DIY pallet furniture making experience with you! The other day my husband suggested that we build something with the two pallets that we had at home (My hubby picked them up at a construction site near our house. The workers just gave them to him! I’m sure they were happy to let him take them…& we were happy too).
Lately, I have been Pintrest-ing all kinds of pallet furniture ideas. There are so many cute ideas out there for pallet DIY projects. When we first started this one, we were thinking it would be a great outdoor stand in our patio area. However, after we were finished I loved it so much I wanted it inside. This is our first attempt at pallet furniture so take a look and I hope you like it enough to attempt one too!
PS: I loved working with my husband on this project. It was fun working together to turn JUNK into a cool piece of furniture.
Alright…let’s get started!

Step 1: Get 2 pallets! Usually you can get them for FREE. Just check around your area to see where they are giving them away. Free pallets are great because the cost of wood for projects can add up. These are cement pallets so they are very solid and heavy duty. Our completed stand is probably around 150 pounds (my husband says so).


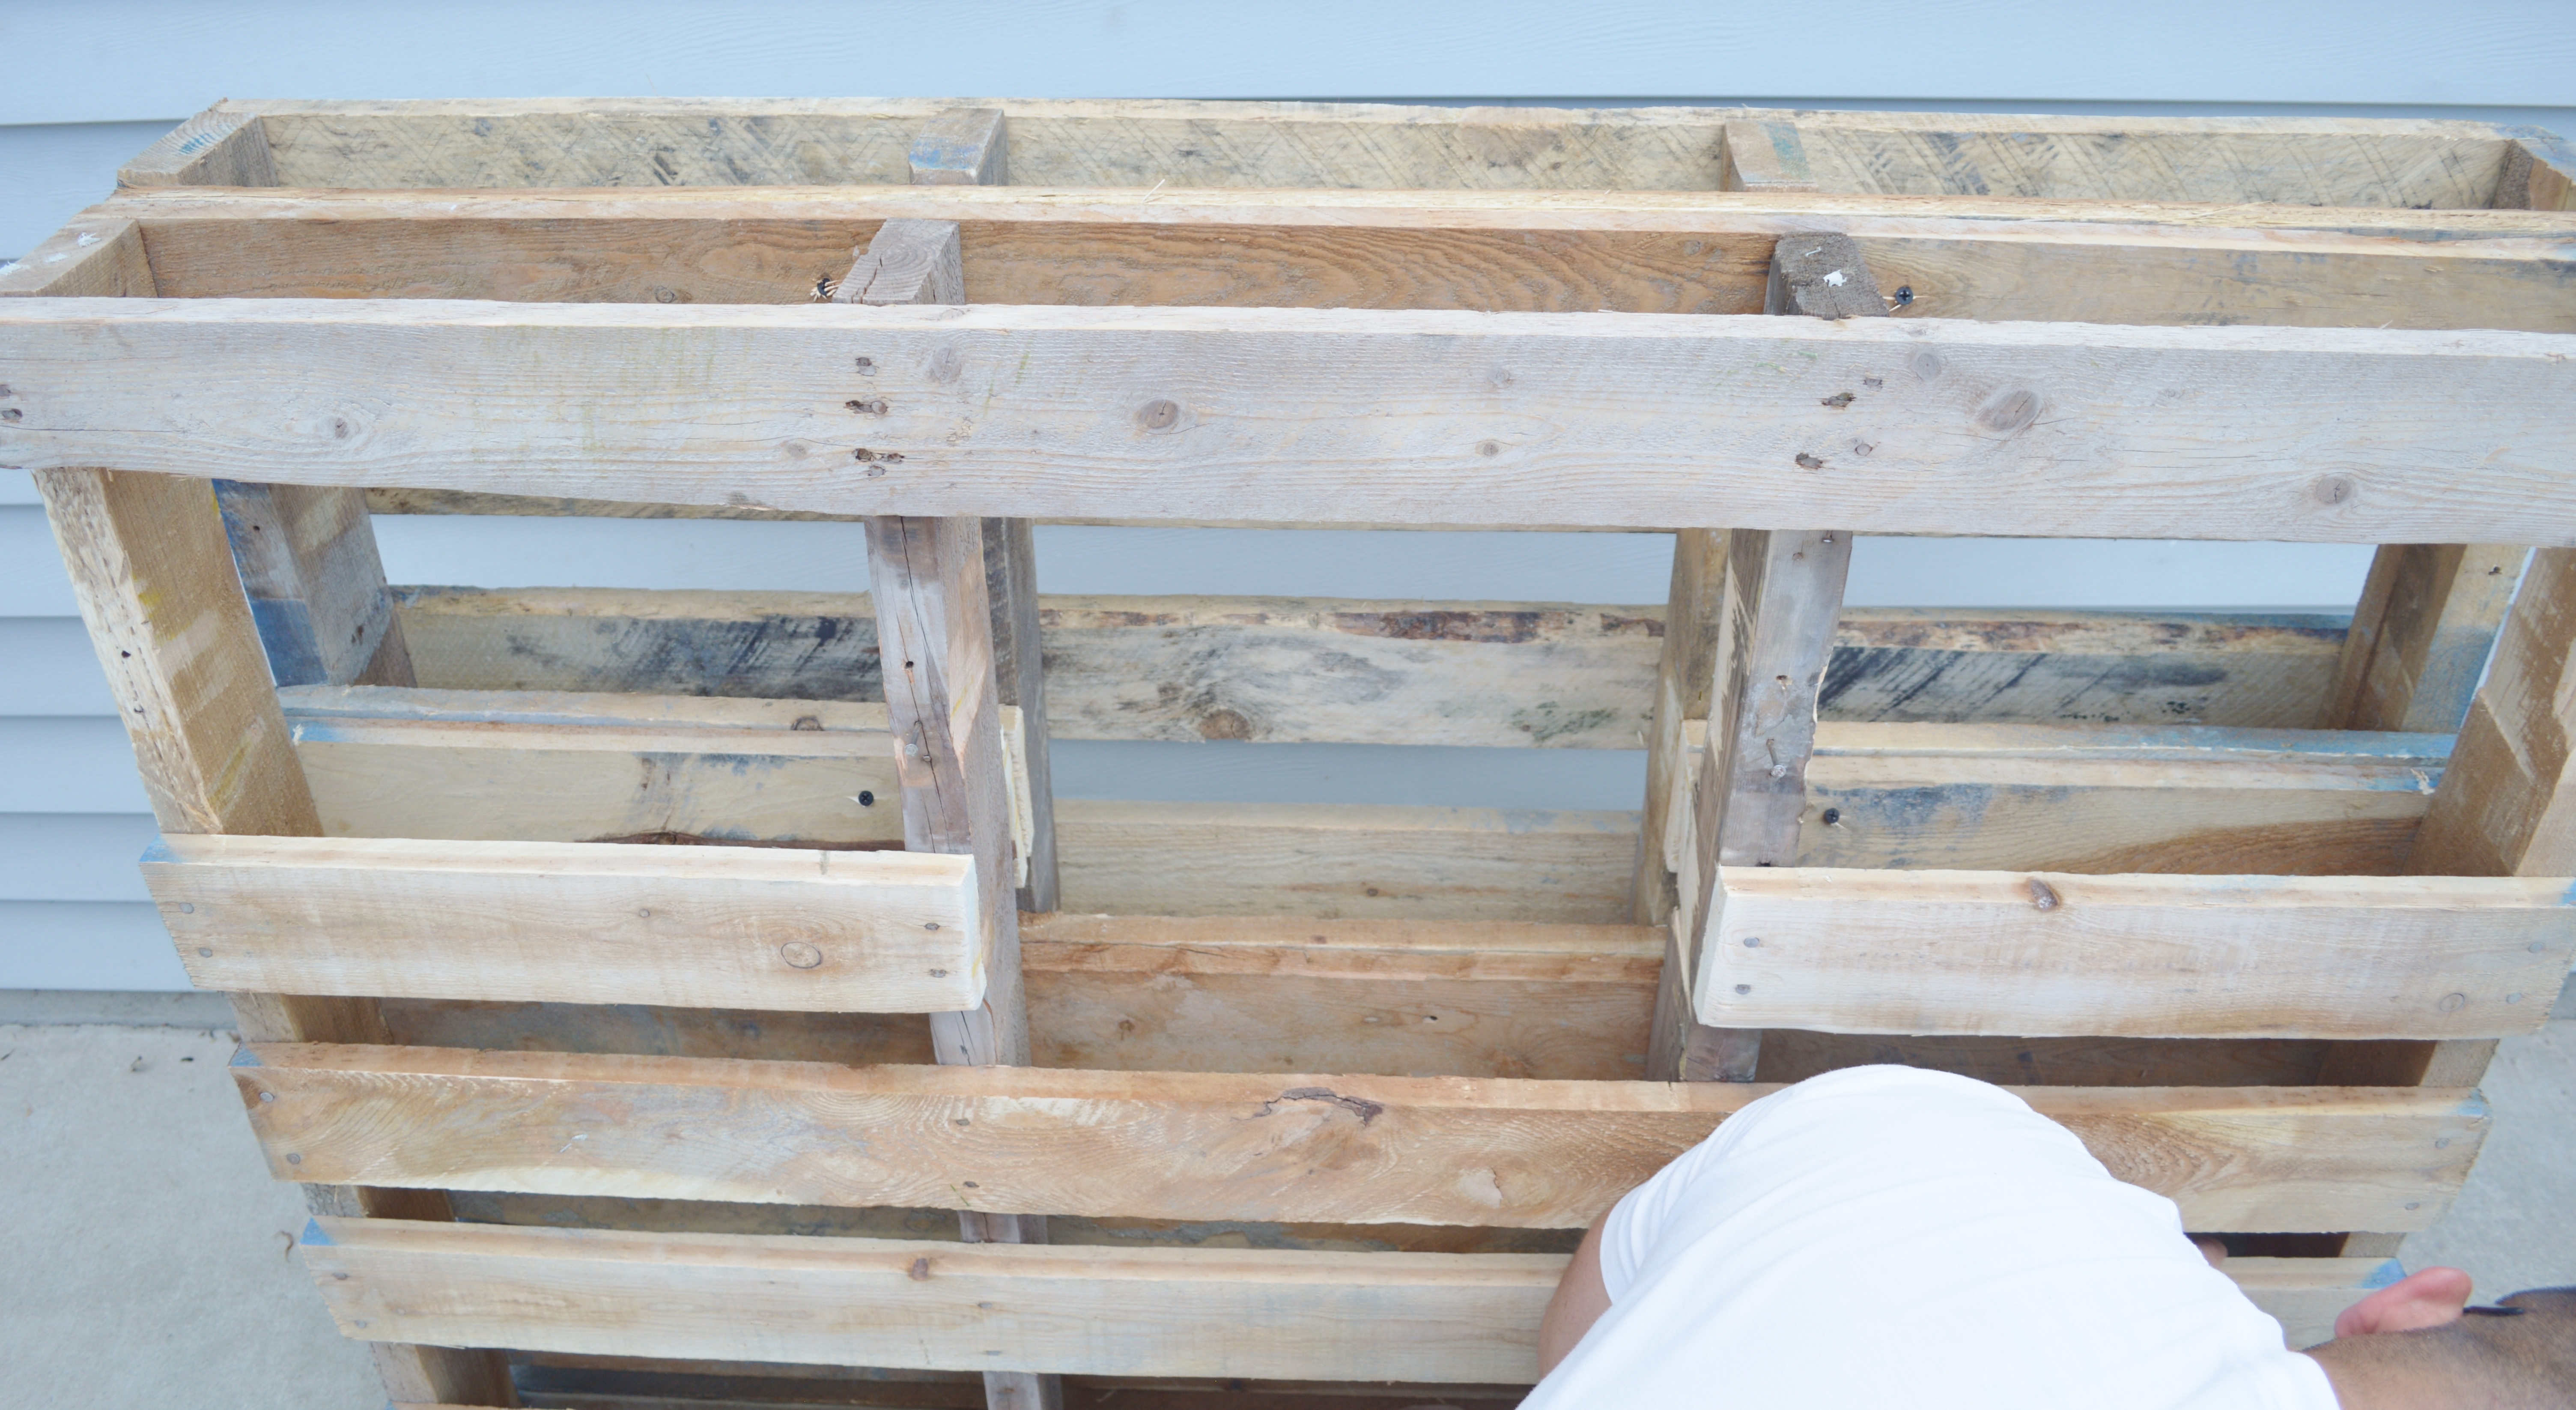
Step 2: Decide how you want your stand to look. Plan out shelving, cubby slots, etc. We decided to do one large middle cut out (for wine bottles, larger books, larger décor items). Then we did two smaller cut outs on each side (for smaller décor items, plates, wine glasses, etc.). My man made all the cuts for me (but I watched & listened to his instruction so I can try on my own sometime). Since we wanted the cut outs to be deep, we cut through both pallets. The front pallet had both sides of wood removed and the back pallet had only the first slat of wood removed.
NOTE: !f I could go back and change ONE thing about my stand…it would have been to add more shelves! I only did the upper section (I didn’t think I was going to use it indoors, but now that it is inside…having more sections for décor would be nice).

Step 3: Sand all the main areas that will be painted!

Step 4: Screw the two pallets together. We added screws to the top, middle and base. The stand is surprisingly very solid & sturdy!

Step 5: Prep with spray paint. This is totally optional!! I had 2 cans of white spray paint at home so thought using them might help in adding coverage…and it did!

Step 6: Cut pieces for your shelves. Thankfully, my husband has a table saw so he did all the work! He cut larger pieces for the top of the stand, allowing it to hang over the pallets about an inch on each side & then a bunch of smaller ones for the 3 inner shelves.


Step 7: Paint!! The shelf pieces were painted a beautiful light blue color (tranquil from Valspar). This is my FAVORITE color right now. I’ve been using this little sample can for mini projects all over my house. It’s amazing how much is in that little jar. The rest was painted white. I did not paint the back of the stand. While I’m painting…my little one is playing=Momma life! TIP: I used a $1 party table cloth that was left over from a birthday party for a simple paint protector.
{Check out my $0 out of pocket bedroom wall art I made using tranquil blue}.
After the paint dries….Ta-Da!! A new, beautiful, simple, rustic feel, KITCHEN STAND.


I think it is so cute. Do you see what I mean about adding more shelves? Maybe next time. But I do love it. It has tons of imperfections but it adds to the character & overall rustic feel of the stand. I personally like that look. Also, everything that was used for this stand…we had at home already!! My husband got the pallets for free, we already had the tools, screws & extra wood pieces for the shelves & all the paint that was left over from other projects.
This cute, stand cost us $0 out of pocket!!
I hope you enjoyed this post & let me know if you have tried any pallet projects. I will definitely be doing more ❤

Wow! Lovely idea and it looks really good in your kitchen! I’ve been meaning to make some furniture out of pallets for so long but have never gotten around to it…this has inspired me!
I have followed your blog, look forward to reading more posts from you.
Feel free to have a look at my site http://tattydesigns.com/
Sophie
LikeLiked by 1 person
Hi TattyDesigns!! Thank you so much for your sweet comment & the follow. I like your page! I just voted for you for best newcomer blog! Best wishes!!
LikeLike
This idea is really awesome.
LikeLike
I love love it!!!!!! Fantastic job!
I’ve completed few pallets DIY myself, my latest was a bar in the back garden☺️and I must say they are addictive!!!!
LikeLike
Thanks Girly!! I will have to check yours out!
LikeLiked by 1 person